I have been getting the DragonBoard 410c for a long time and I have tried to research the Qualcomm kernel drivers on Adreno and 410c. However, in order to allow fans to quickly get started with this development board, I intend to use the source code of the official Linux guide as a starting point, so that developers can quickly use the resources at hand.
Recommended configurationFirst of all, assume that the people who read this article have all the devices shown below, and we need to be especially reminded that we are using a distribution of Linux Debian, if anyone wants to delve into Android and Win 10 IoT, I can wait for my post-tutorial, or go to my forum post to search for the 410c Android development manual I posted.
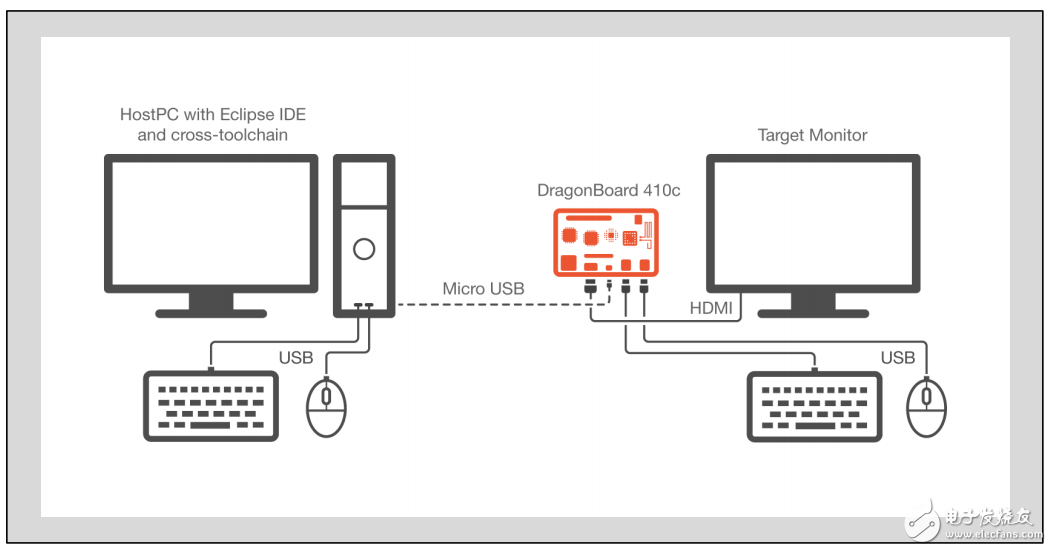
The above picture is the official recommended configuration, since we are developing based on debian, then pay attention to the best resolution of the screen is 1080p, otherwise the display will not be perfect.
Let me see my configuration first:
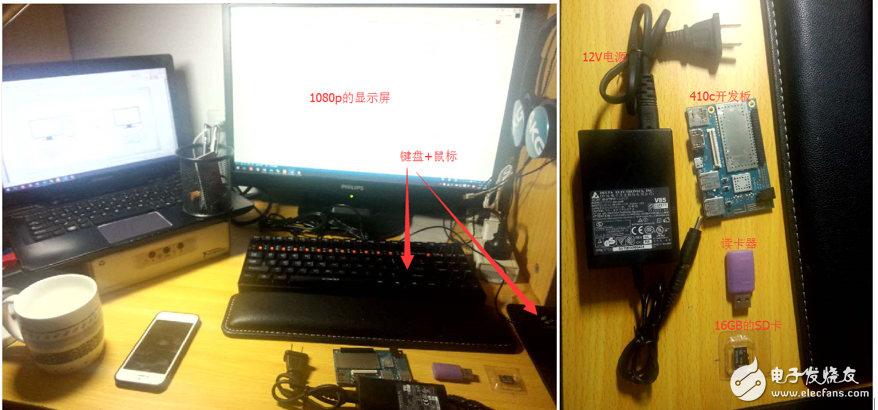
With the above equipment, we can follow the official process to brush the Debian system. Brush the Debian system can be found here, here is no longer awkward, we are directly familiar with the development environment.
Develop using Eclipse on the PC side based on UbuntuThis method is the officially recommended development method, which is convenient and easy to use. Some developers may not have used Ubuntu for the most part, or they are too lazy to install a system (such as me) on their computer. So we can also write and compile the program directly in the 410c system. Here we first introduce the Eclipse-based cross-compilation method under the PC.
Tool chain
In order to enable the PC to write Linux applications running on 410c, we need a cross-compilation toolchain. Cross-toolchains, as the name implies, are capable of compiling tools that can run on a processor on different processors.
According to the official link, there are two Linaro cross toolchains available for download, 32 in 64 bits:
32-bit Linux system toolchain download
64-bit Linux system toolchain download
Tool chain installation
We use the following command to decompress the toolchain on the ubuntu command line.
~/DragonBoard/toolchain/:
Tar xz gcc-linaro-4.9-2014.11-x86_64_aarch64-linux-gnu.tar.xz
Eclipse development environment installation
Eclipse is a well-known open source infrastructure development environment and is highly customizable
First of all, we can choose the Eclipse software we need from the following links.
32-bit Linux system Eclipse download
64-bit Linux system Eclipse download
Then use the following code to decompress
~/DragonBoard/ide/
Tar xz eclipse-cpp-luna-SR2-linux-gtk-x86_64.tar.gz
At this point, the Eclipse download is complete. As for the addition of the toolchain, as well as the transfer program can be seen in the official tutorial
Compile and run directly on 410cThis method does not appear in the official tutorial, but compared to the Eclipse development environment, this method can be quickly configured and tested, so in this article we use this method to get started quickly.
Log in to the 410c terminal
Qualcomm provides a simple and rude login method: HDMI + keyboard + mouse
Therefore, we can log in to the system through the built-in interface of 410c. The Debian system of 410c has built-in LXDE interface and comes with LXterminal terminal. So in this tutorial we use the LXterminal terminal to write our program.
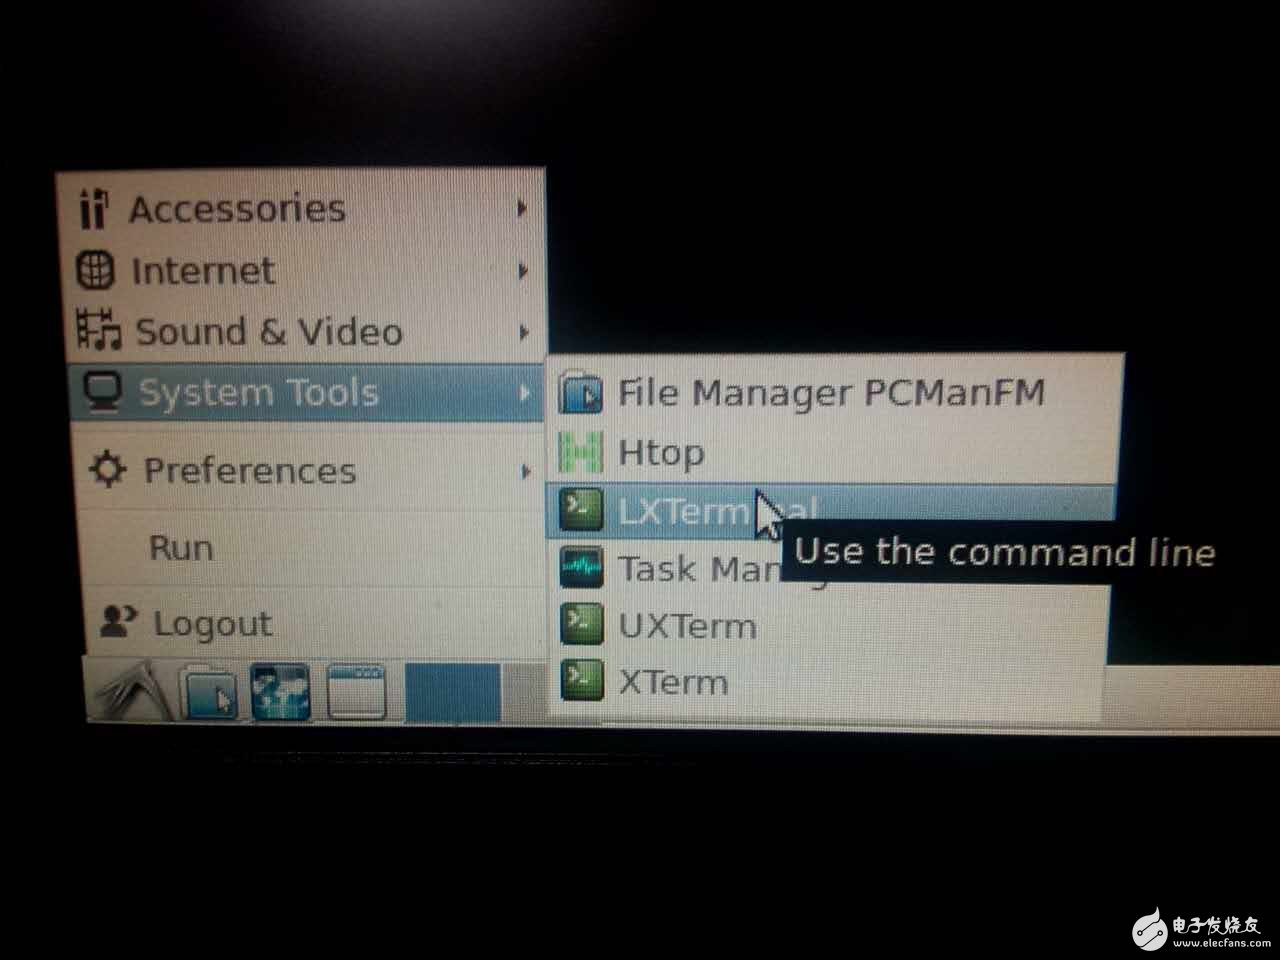
Write the first program using VI
If you are not familiar with VI, you can go online to see the detailed VI tutorial, which is a simple plain text editor in Linux. Although it does not have a graphical interface, it is very convenient if you are familiar with it, and it is very simple. We create a Hello.c file in the ~ directory with the vi command, and then write the following code:
#include
#include
Int main(void){
Puts("!!Hello World"); //This sentence should be familiar to everyone.
Return EXIT_SUCCESS; / / program successfully exited
}
Compile the code inside 410c
Next we can compile Hello.c using the gcc command that comes with Debian. We enter it in the terminal.
Gcc hello.c –o hello
Next we can see an executable called hello in the directory.
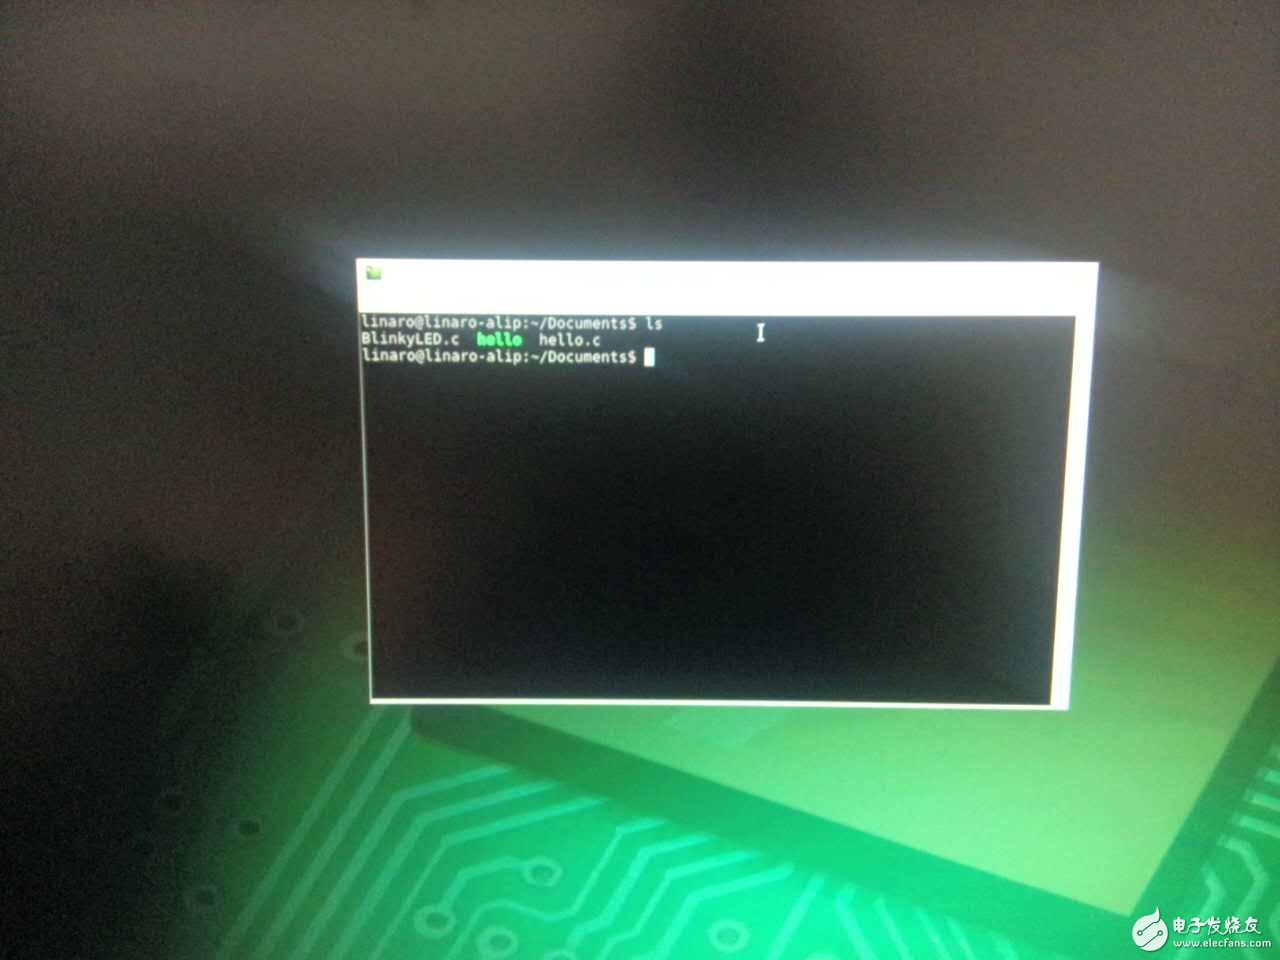
Although we have compiled the executable, we still need to give the file sufficient permissions to execute. Next we use the following instructions to make the hello file execute correctly:
Chmod u+x hello
Then use the following instructions to execute the file:
./hello
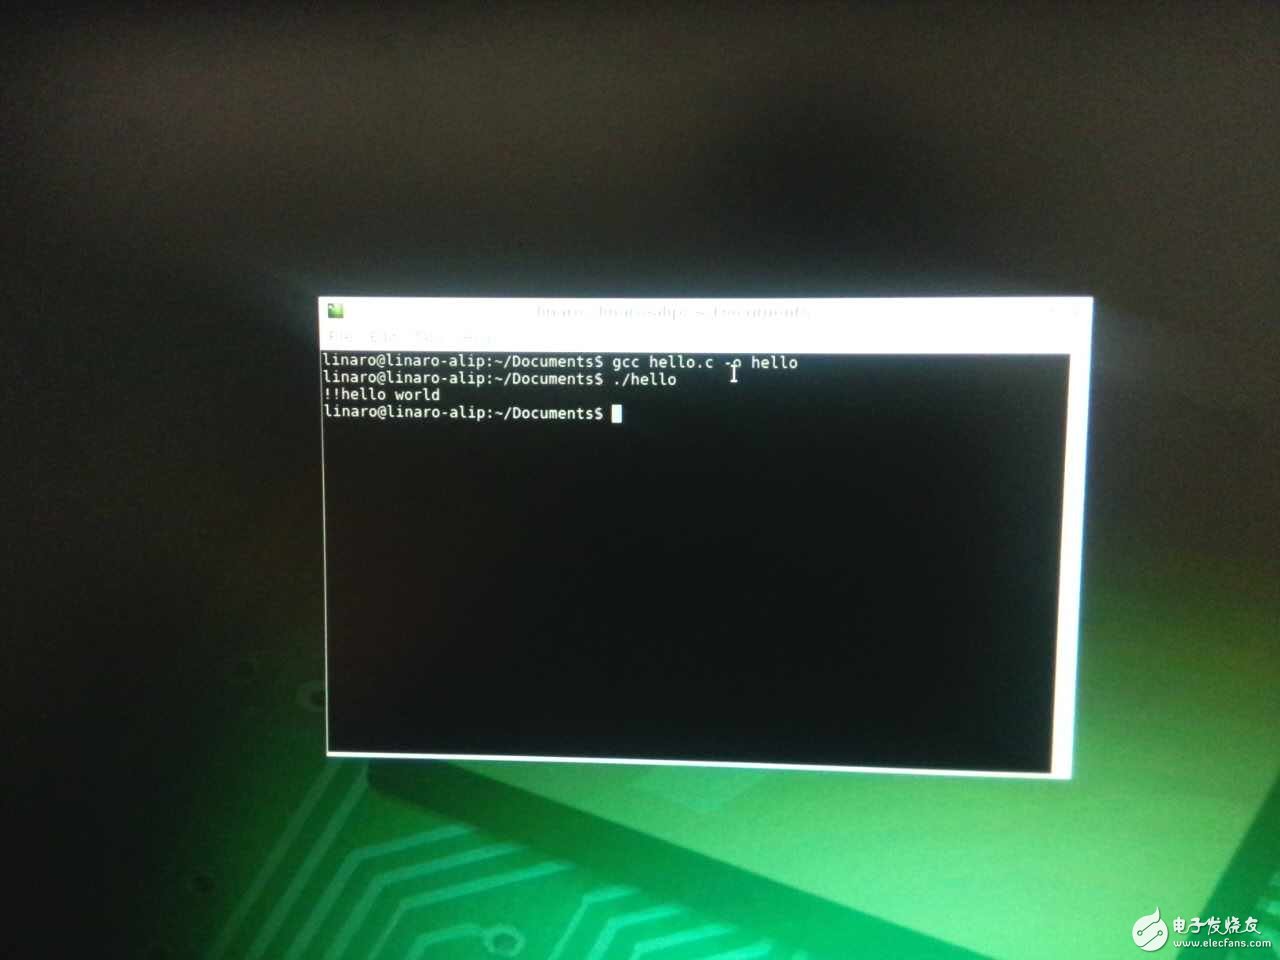
If all goes well, we can see it on the terminal! ! Hello World text output. This officially shows that 410c has run reasonably.
to sum upThis article simply wrote the code in 410c, and successfully compiled and run the code, and output the hello world text. If you are more interested in eclipse, you can also see my next experiments and articles.
Now that the program is running correctly, our 410c can run more complicated programs. In the next chapter, I will introduce the method of calling hardware directly in the program and provide a demo picture. Welcome everyone to join.
Guangzhou Ysure Electronic Technology Co., Ltd. , https://www.ysurecase.com