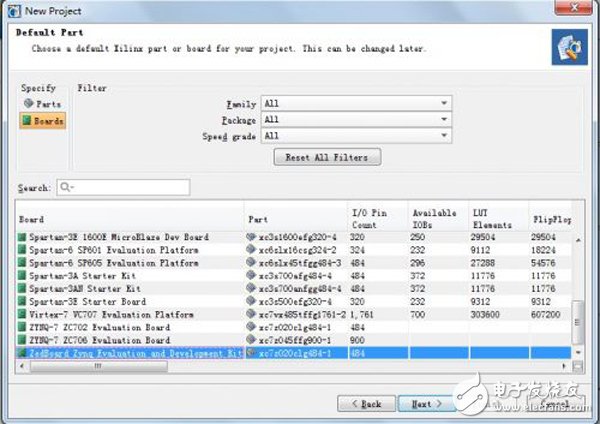
1. Select Create New Project to create a new project.
Project name: hello
All the way, only the Board item needs to choose ZedBoard Zynq EvaluaTIon and Development Kit
Finish
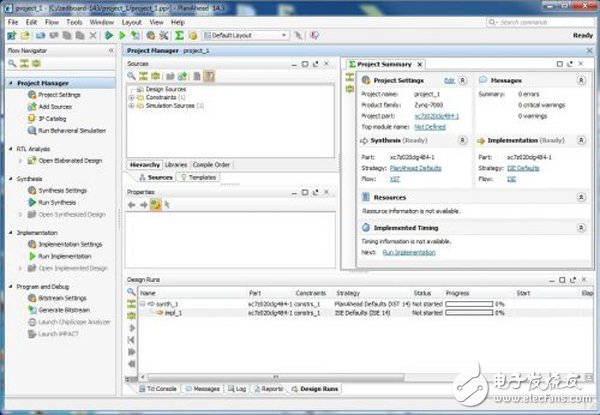
Create the interface after the project
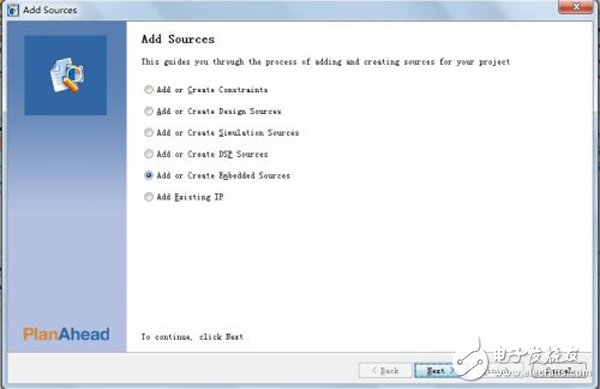
1.Click Add Sources in the Project Manager.
The Add Sources wizard opens.
2.Select the Add or Create Embedded Sources opTIon and click Next.
3.In the Add or Create Embedded Source window, click Create Sub-Design.
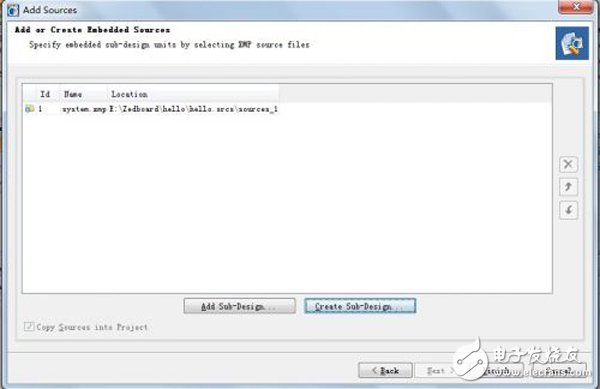
4.Type a name for the module and click OK. For this example, use the name system.
The module you created displays in the sources list.
5.Click Finish.
At this time XPS will automatically open, hardware-related configuration can be done in XPS.
1. The dialog box opens, and asks if you want to create a Base System using the BSB Wizard. Select Yes.
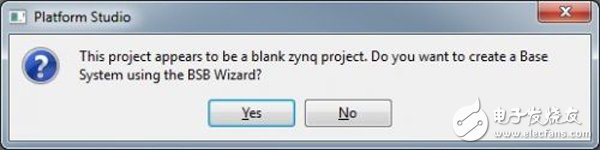
The first window of the BSB asks you to elect whether to create an AXI-based or PLB-based system.
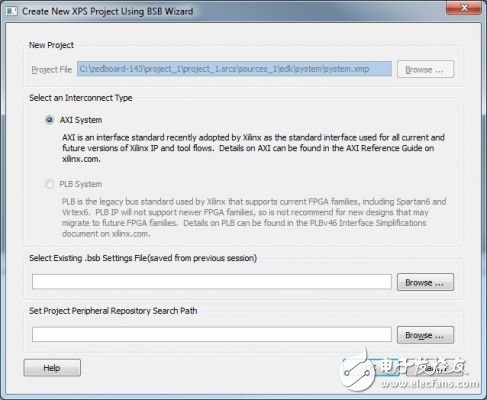
2.Select AXI System and click OK.
3.In the Base System Builder wizard, create a project using the setTIngs described in the table. Where a setTIng or command has not been specified, accept the default values.
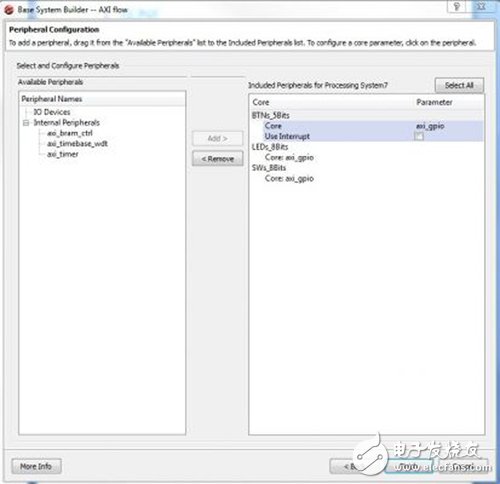
3, Remove all peripherals from the list by selecting each one and clicking Remove.
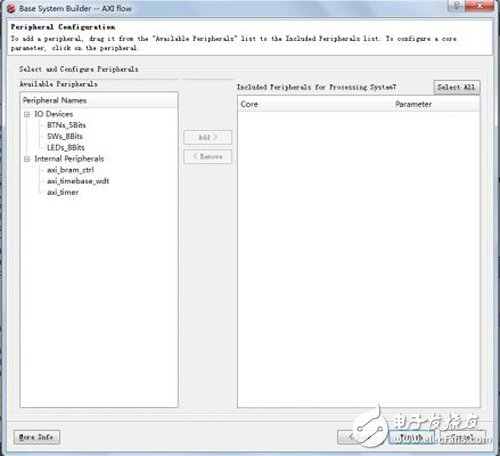
4, Click Finish
5.Close the XPS window. The active PlanAhead tool session updates itself with the project settings.
After switching off XPS, PlanAhead will automatically update
1.Under Design Sources in the Sources pane, select and right-click system (system.xmp) and select Create Top HDL.
PlanAhead generates the system_stub.v top-level module for the design.
2.In the PlanAhead tool, Select File > Export > Export Hardware for SDK.
The Export Hardware dialog box opens. By default, the Export Hardware check box is checked.
3.Check the Launch SDK check box.
4.Click OK; SDK opens.
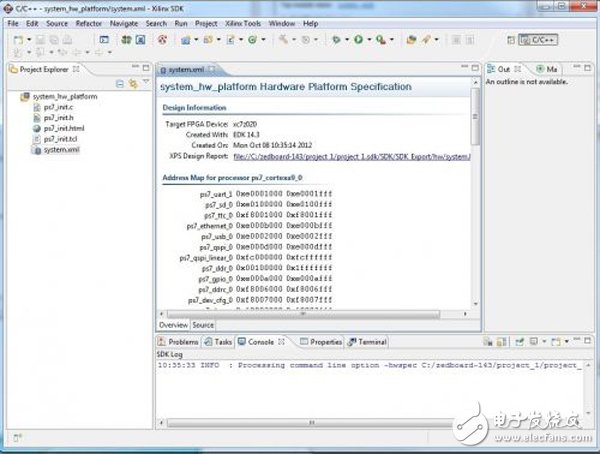
After the SDK is opened, the current project already contains the information of the peripherals used in the PS part. The rest is to write the C code and burn it to the PS.
1. In SDK, select File > New > Application Project.
Project Name: Hello_world Others, Direct Finish
2.Right-click Hello_world and select Run as > Run Configurations.
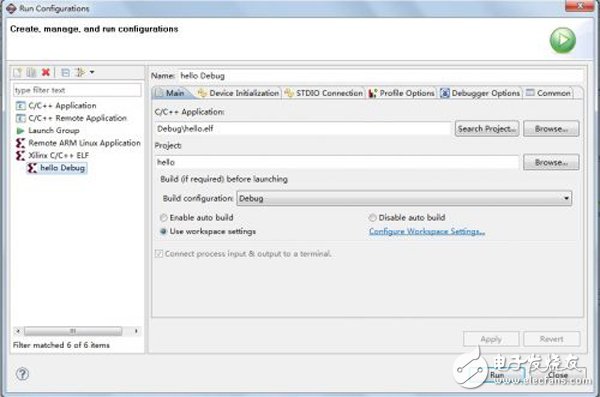
3.Right-click Xilinx C/C++ ELF and click New.
4.The new run configuration is created named Hello_world Debug.
Before running, first open the serial port, the baud rate is 115200
5, Click Run.
At this point, the entire project has been completed, you can see the Hello World in the serial port assistant.

12V 200AH LiFePO4 Battery Pack
12.8v lifepo4 battery,12v 200ah lifepo4 battery,lifepo4 battery 12v 100ah,12v 250ah lifepo4 batteries for solar
Shenzhen Jiesai Electric Co.,Ltd , https://www.gootuenergy.com